
Setup Hardware for Artisan
Configure for a Supported Machines
You will find many roaster manufacturers are now supporting Artisan. See Artisan Machines.
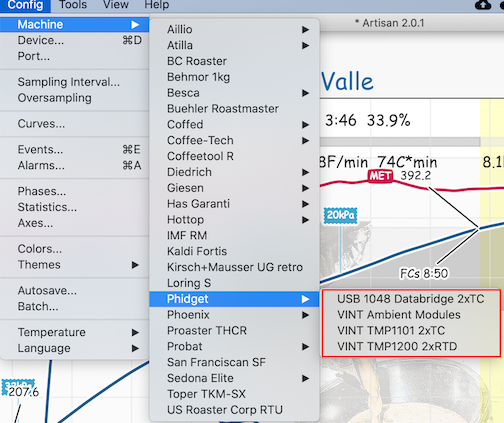
Under Config » Machine, you will find all the of the Machines with supported set ups. The list has expanded greatly. If after running setup you see, “uu” as the reading in the LCDs, something is not right. You should check your probes independent of Artisan first before you try to troubleshoot within Artisan. So for example, with a Phidget, check the Phidget Control Panel which you will find after installing the Phidget drivers and make sure the Phidgets are updated and showing readings. Install the full driver set, not just the Standalone Control Panel.
NOTE: these machine configurations change some but not all settings; so if you have left over settings from another setup they could conflict. Best to save your settings file and then go to Help>Factory Reset and start fresh.
Configure for Supported Devices
You will need to configure the hardware device taking the readings from the roaster if its not a listed roaster above.
Artisan supports various devices for reading temperatures and other inputs such as air pressure and ambient conditions. Information on PID control can be found here. Additional devices can be configured on the Extra Devices tab of Config» Devices. A discussion of virtual devices and symbolic assignments is here. One potential symbolic assignment is for your bean temp, explained below, or the use of certain devices like an RTD Phidget.
Port settings are found under Config » Port IF they are needed.
Artisan can now configure certain Phidgets much like a Machine. Machine setups for popular VINT Phidget sets, available as ready-to-use packages from the Artisan shop, have been added that allow a one click configuration. There is a 2xTC setup based on the TMP1101, a 2xRTD low-noise setup based on two TMP1200 as featured in On Idle Noise using a one-in-two configuration, and an ambient extension based on the PRE1000 & HUM1000. There is also a setup for the older Phidget 1048 “databridge”. If you are using Phidgets, at the outset, make sure the probes are being read in the Phidgets Control Panels and then close the Panel before you hit ON in Artisan.
Want to know more?
Roasting with Phidgets in Artisan and More on Phidgets in Artisan go into greater depth on using Phidgets.
If you need support for your device, go to the help page to see where to get help.
Configure for Extra Devices Beyond Two
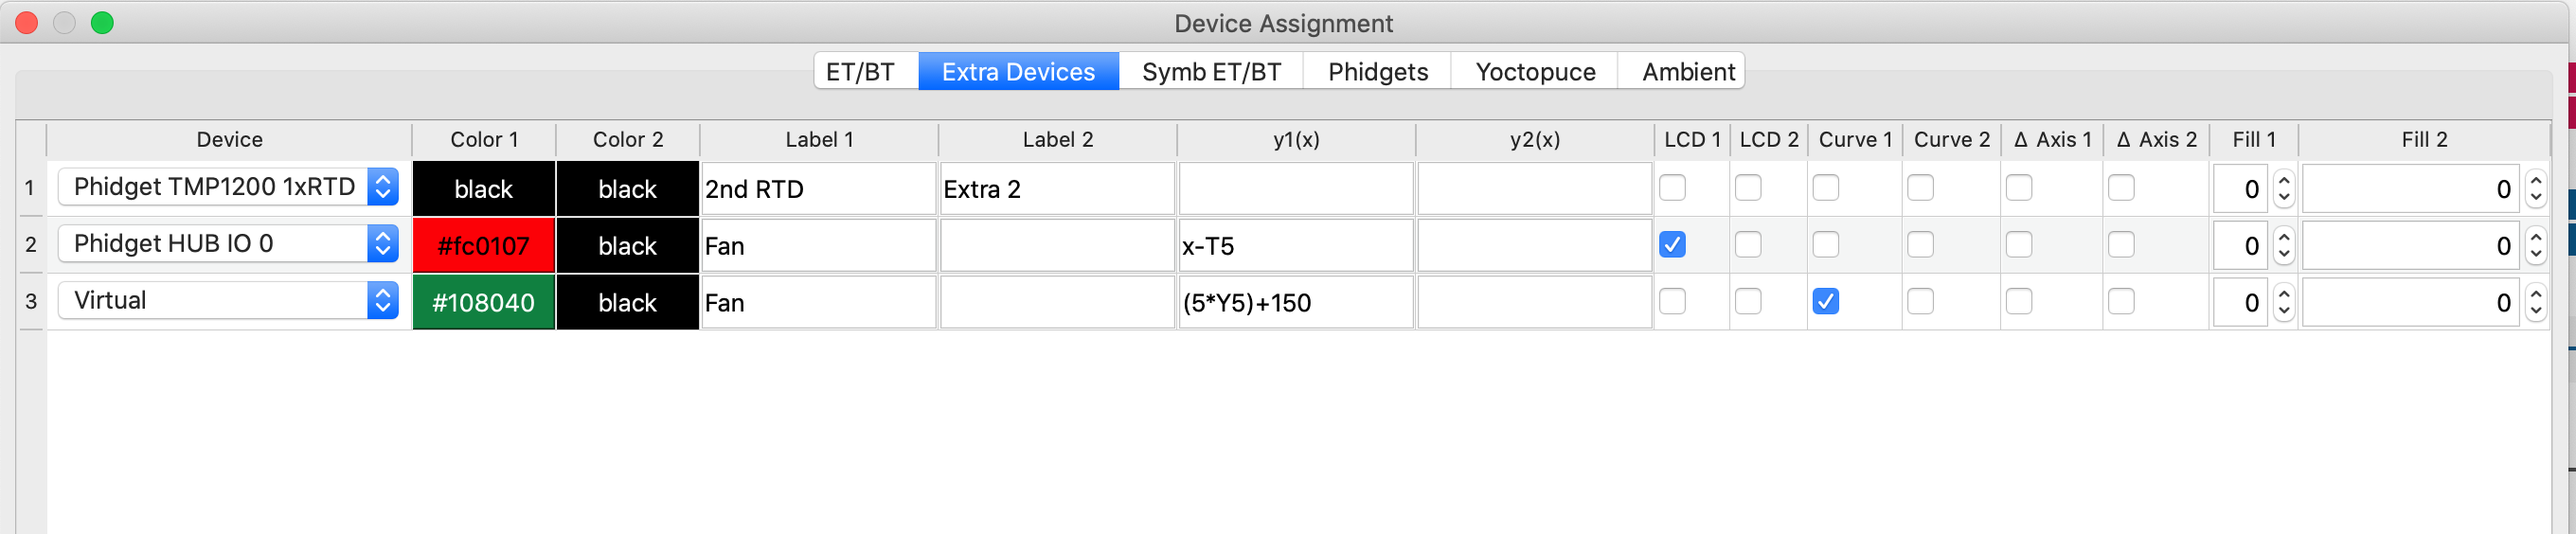
Artisan supports two primary devices for BT and ET, and you can add additional LCDs and Curves by using Extra Devices tab on the Config» Devices dialog. Each physical device can have two channels, so on that tab you first select your device by its name in the drop down. Picking the correct device is critical, and if your device has more than two channels you might see some numbers after the name which indicates the additional channels such as Center 304 34. You only need one extra device for two probes. For example, on a Phidget 1048, you add two probes with Channels 2 and 3 on one extra device. You pick a color for the display, apply a label/name for the device, add a formula to be applied to the device reading if any, and select if LCDs or Curves will be displayed. If you check the delta box, that will map the device to the right hand axis scale (the RoR axis) instead of the temperature axis.
Prior toArtisan 2.6, you were asked what to do on loading a profile with a different Extra Device setup. You could choose to either ignore the extra data, resulting in an incomplete representation, or allow your extra device setup to be adjusted, modifying your setup. Artisan will now make a backup of your extra device setup before loading such profiles and always adjust the setup to fully load any profile. On reset Artisan will revert to your original Extra Device setup using the backup made before.
Configure Language, Temps and Sampling
Language and Temp C or F
Menu Config » Temperature and Config» Language are where you go to choose your language and Celsius or Fahrenheit and switch between the two if you like.
If you want to change a profile from Celsius or Fahrenheit to the other, first set Artisan to the desired display mode, Fahrenheit Mode or Celsius Mode using Config» Temperature. Then open the profile and/or background profile you want to view. The temperatures are automatically converted when the profile is opened. Note that any profiles open when the mode is changed will need to be reopened because the temperature conversion happens while opening the profile.
If you want to permanently save a converted profile there are three ways to do it. File» Save As works when viewing a profile as described above. Tools» Convert Profile Temperature will perform the conversion immediately and then prompt if you want to Save when you close the profile. File» Convert To allows you to choose one or multiple files to convert in bulk without displaying them.
Symbolic BT/ET
What BT and ET temperatures do you want as reference points?
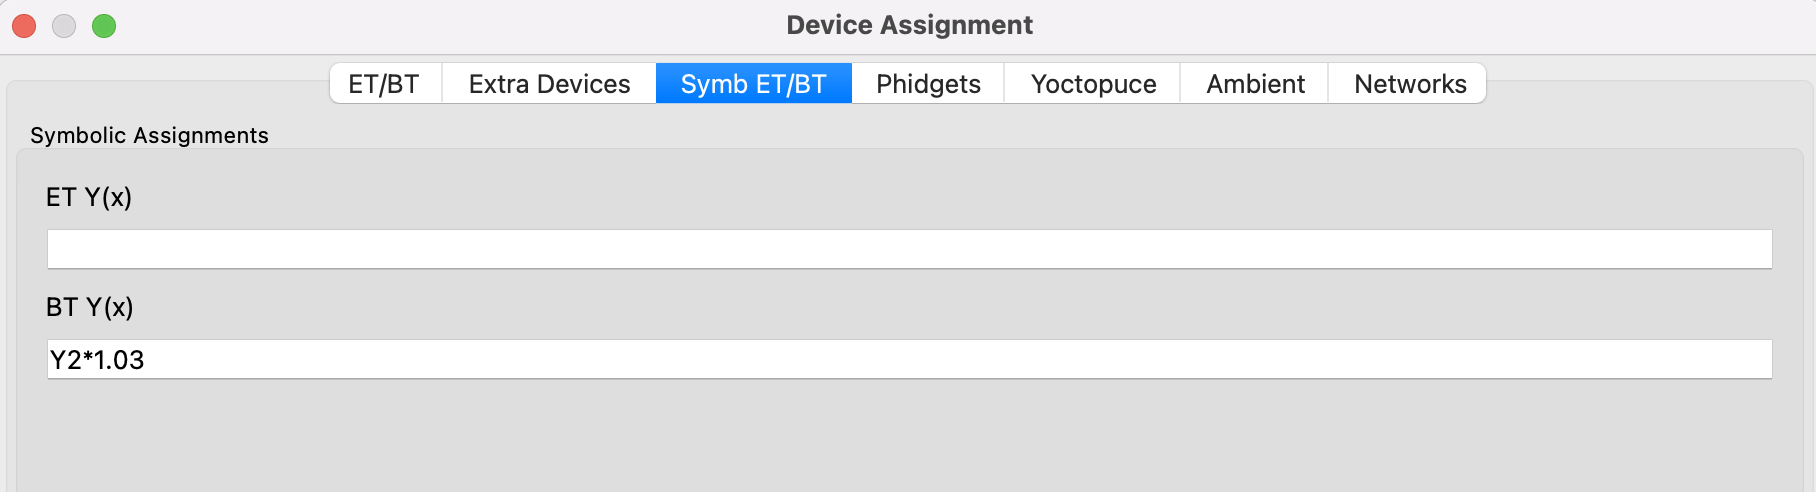
Some roasters are just fine with the readings their machines put out from their thermocouples. Each machine is different and each machine’s thermocouples are placed differently and read differently. Learn your machine is something you will hear over and over. That said are you happy with first crack being at 365° or do you want it to be at 390°? In order to adjust your machine thermocouples to give you dry end or first crack at temps that people think they should be at, you can enter an adjustment under Config » Device on the tab – Symb ET/BT.
Also don’t expect these to match the PID in the roaster if the probes are in different places.
Do you have to do this? NO. You will know your roaster best and these data points aren’t absolutes, they are just reference point. Sight and smell and will tell you best when dry end and first crack happen. Make sure to use a lower case “x” as an upper case won’t work. If you see a reading of uu in the temp LCD’s your formula may be incorrect.
Artisan is set up to read ET and BT, two devices. If you need more devices, you can add them through Extra Devices. In that dialog box, the Label refers to the Channel of the device. Each is set up so an Extra Device can read two channels. So Label 1 is the first channel and Label 2 is the second channel. If you were for example, using ports 2 and 3 on a VintHub, then Label 1 would be for port 2 and Label 2 for port 3. Also, please note, all HUB IO devices block two ports on your VintHub, but for the one that is named “HUB IO 0” that only blocks the port 0. As explained in the blog post, Symbolic Formulas: Basics, New Variables and Applications section One in Two, you would use Extra Devices to add additional RTD’s for Phidgets since the TMP1200 only reads one RTD. In addition, in the example below there is an Extra Device to read a Differential Air Pressure Sensor (Phidget 1136) which is plugged into the VintHub port 0, and to provide a formulaic curve for it.
Symbolic formulas are very important and provided advanced features as described in the Artisan Blog post.
Sampling and Oversampling
The default for sampling is set to 3s. For a Phidget device, one second is possible, and Artisan goes down to .5s now. Oversampling will take two readings per interval and average them. See the Sampling page for more details.
If you go below a 3s interval you will get a popup warning:
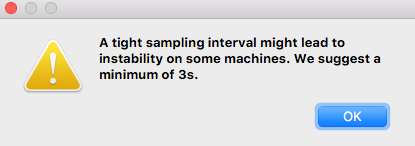
You can try it lower and see if your equipment can handle it. There have been reports that if you go down to 1s sampling, do NOT check oversampling as it causes very jumpy lines.
NOTE Unplug Your Laptop Before You Roast Note that for most people unless you have a USB isolator you need to unplug your computer when using Artisan or will get feedback loops that will create all sorts of crazy spikes in the graph. If you are using a desktop I guess you need to get an isolator.
Settings- Load, Load Recent, Save
Menu Help is where you go to load and save settings. Load Recent is a shortcut to settings you have recently used. You can use Artisan with more than roaster by saving two sets of settings and then using Load Recent to change between roasters. Please save your settings on a regular basis with backups, especially if you use extra devices.
Information for Troubleshooting
Menu Help is a place you can find information on Errors, Messages from the program, a Serial log, search your settings, and information on the platform you are using.
Factory Reset
If you ever need to reset Artisan to factory settings, it’s under menu Help » Factory Reset. This is not a bad idea if you are trying to use a Machine Configuration. Just save your settings first.